Time Sheets
The Time Sheets module allows users to record the time they spent working on a specific project or deal, including a description of specific activities. You can create workflows for different types of time sheets so you can better categorize your time sheets.
This article focuses on the basics of the Time Sheets module in eWay-CRM Online. If you want more general information about this module, please go to the description of the module for eWay-CRM Desktop.
Time Sheets List
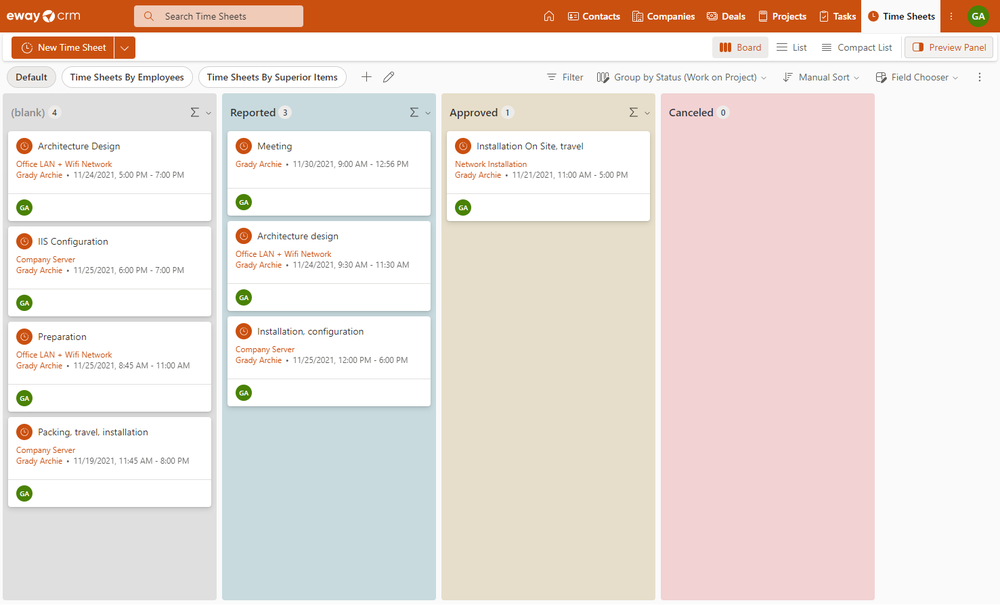
Clicking the three dots in the top part of the eWay-CRM Online page and select the module name to get into the time sheets list.

When you click the link, you will see the list of all items that your user has permission to.

You can search items in the list, filter them, customize the list, etc. For more information about list opinions, go to List of Items Introduction.
Note: In the Start Time and End Time fields, you can filter only based on the date.
Item Preview
When you click an item, its preview panel shows on the right side of the web page where you can see the values of the items and also some relations. For more information about the preview, go to Item Preview.
Time Sheet Dialog
Find out basic information about item creation and editing here: Create and Edit Items.
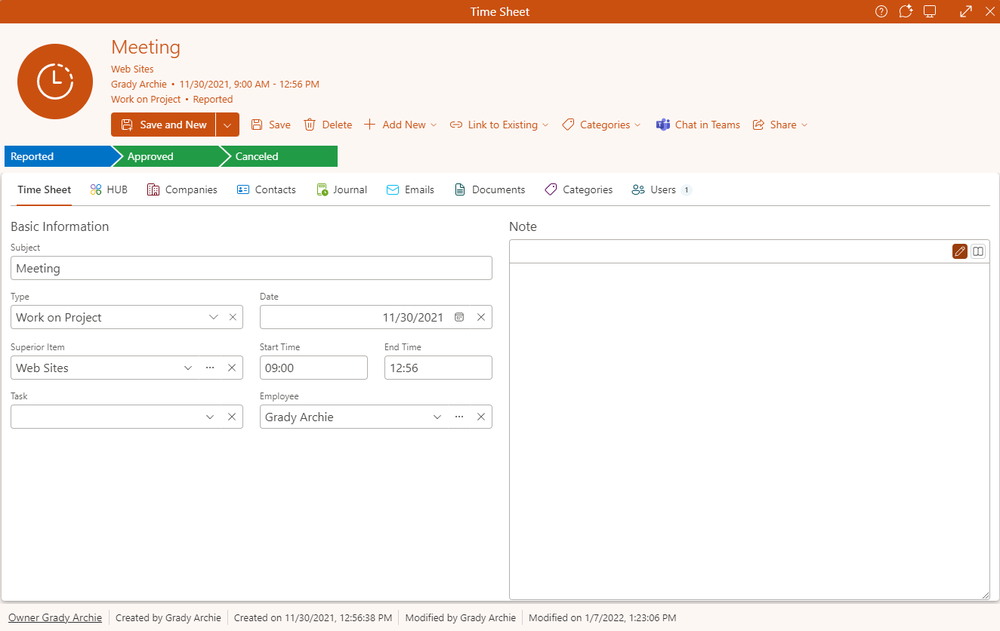
If you want to open an item, just double-click it. You will see similar details:

| Field | Description |
| Superior Item | A project, or deal the time sheet is related to. |
| Employee | The user related to time sheet. |
| Type | A specific type of the time sheet for better review and reporting. |
| Date | The date when the work was done. |
| Start Time and End Time | The specific time of your work. |
| Subject | A brief specification of the time sheet. |
| Note | The general text you can add to your time sheet. |
When you want to display other fields or customize your dialog, use Form Designer in eWay-CRM Desktop. eWay-CRM Online displays a dialog similar to Microsoft Desktop, but some differences can happen due to the position of field groups in eWay-CRM Desktop - eWay-CRM Online does not use only the horizontal position of the field group, but the vertical is also important, e.g. when the group is on the right in eWay-CRM Desktop but it is higher than the group on the left, it is displayed higher in eWay-CRM Online.
Item Header
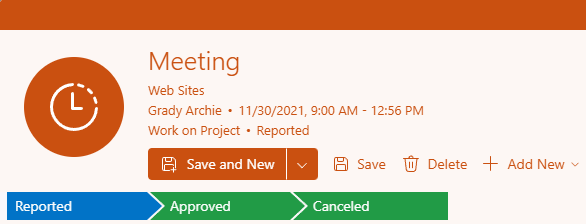
The top part of the item detail allows you to do some basic operations with the item and informs you about the item:

| Option | Description |
| Profile Picture | The picture you related with the item. |
| Basic Information | Right next to the profile picture, you have basic information about the item so you do not need to find them anywhere else. |
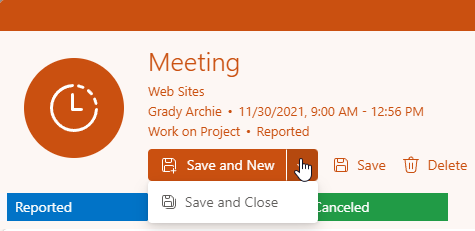
| Save and Close |
Save all changes, close the dialog, and open a new one. The specialty of the field on the time sheet: When you click the arrow you have also the option to save all changes and close the dialog.
|
| Save | Save all changes. |
| Delete | Delete the item if you have appropriate permissions. |
| Add New | Click the button and select the module on the list. A new item window pops up. Fill in values, save the item, and the relation to it is created. For more information, go to Work With Relations. |
| Link to Existing | Click the button and select the module on the list. The list of all available module items appears. Select the item you want and the relation to it is created. For more information, go to Work With Relations. |
| Categories | Add a category to the item - see Create Categories. |
| Chat in Teams | Share the item using Microsoft Teams - see Send a Link to Open an Item Via Teams. |
| Share | Use it to share the item as a link or as a message sent by email. |
Time Sheet Workflow
The Time Sheets module has workflow - you can set different statuses for time sheets to describe their process; flows between statuses can also have some actions that are proceeded.

For more information about workflow, go to Work With Workflow.

