Import Contacts and Emails from Microsoft 365
To use import from Microsoft 365, your eWay-CRM must run in our cloud. If you use eWay-CRM on-premises, this feature will not be available.
Content
- Import contacts and emails in one batch
- Import only emails
- Import emails to a new contact, company, or deal
- Import emails to an existing contact, company, or deal
- Create contacts based on received emails
Import contacts and emails in one batch
Availability: The function has been available since eWay-CRM 7.5.
If you fill in the Billing Information field in Outlook, the contact will not be imported into eWay-CRM. The Billing Information field is used to synchronize items between Outlook and eWay-CRM. See how to identify contacts that are synchronized with eWay-CRM in Outlook.
When creating a new eWay-CRM account, you can import contacts and emails from a Microsoft 365 account. When you are in eWay-CRM Online, click Go to > Contacts. In Contacts click Import from Microsoft 365.

In the dialog, you can select a folder to import. eWay-CRM Online may ask you to log in to your Microsoft 365 account from which you want to import your contacts and emails.
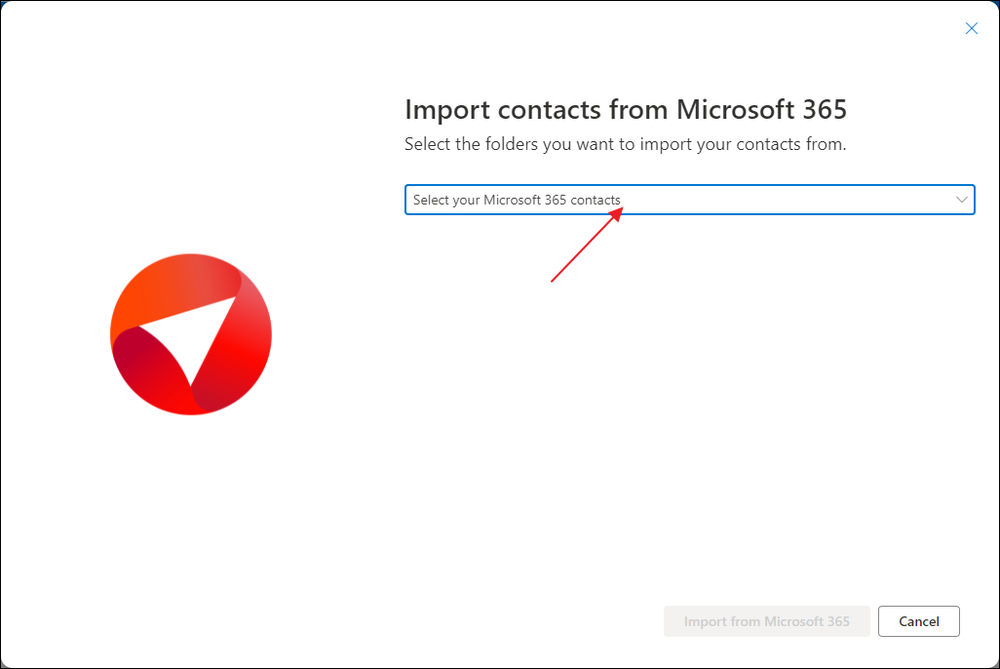
After successful login, you will see folders of contacts as you have in Microsoft 365. Select those folders you want to import. Another folder can be added by clicking Select your Microsoft 365 contacts.
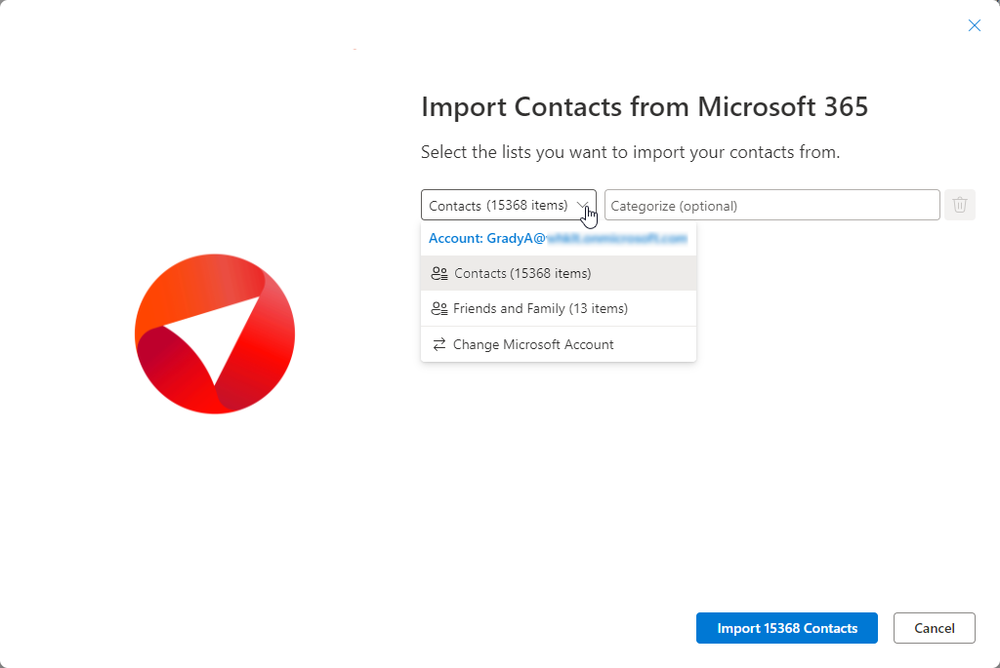
If you are logged into the wrong Microsoft 365 account, you can always click Change Microsoft Account to log into the right one. (Availability: This feature is available from eWay-CRM version 9.1 onward.)
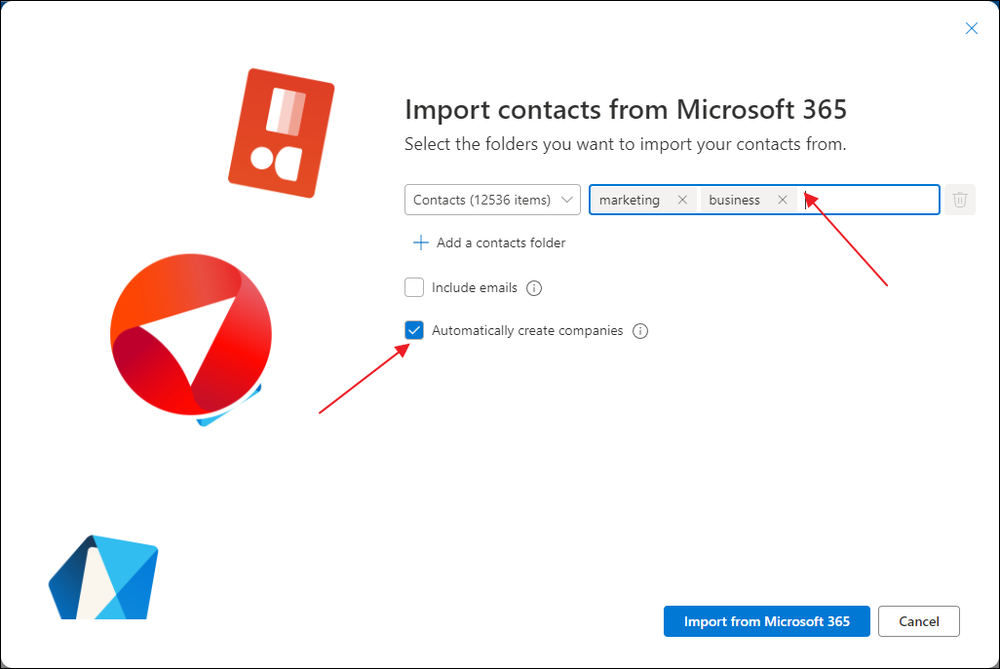
Before import, you have some other options: You can categorize contacts in each folder by different categories to easily recognize them in eWay-CRM. Or click Automatically create companies, so companies will be created and related to your contacts in eWay-CRM.
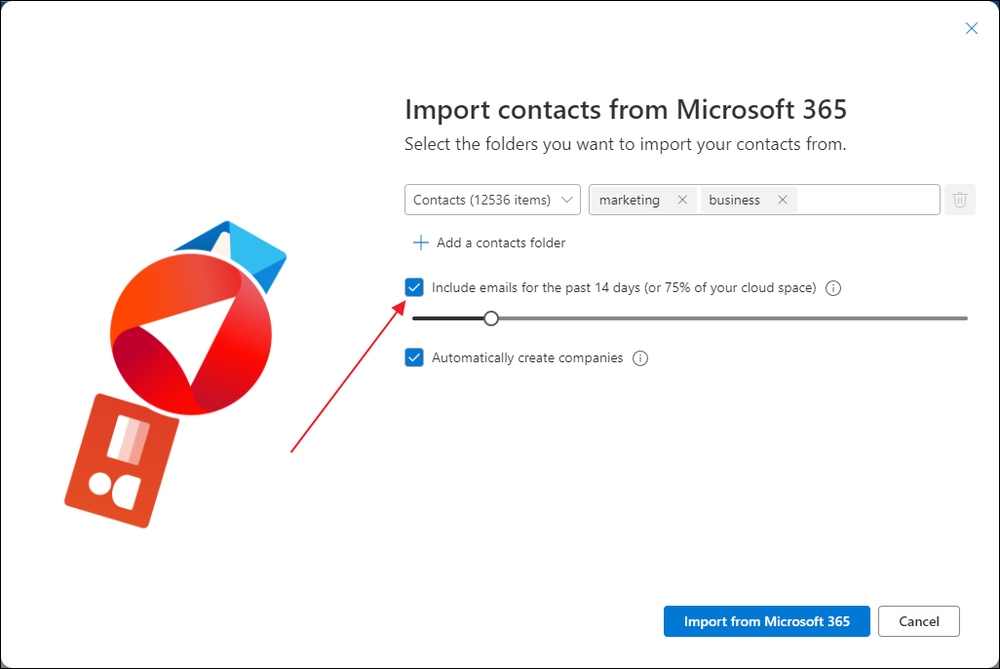
If you have emails in your Microsoft 365 account that you want to have in eWay-CRM, just mark Include emails and select how old emails you want to import. But remember the more emails you want to import, the more space in your database would be used - this could be a problem for the Free version of eWay-CRM.
If you are satisfied with the setting, click Import from Microsoft 365.
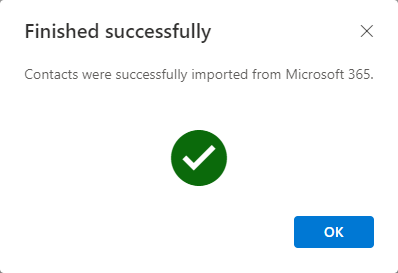
In the dialog, you can see the progress of the import. You will be informed about the successful completion of the import.
If the duplicate check is enabled, contacts with email addresses that are already stored in eWay-CRM will not be overwritten, and the existing contact will remain unchanged.
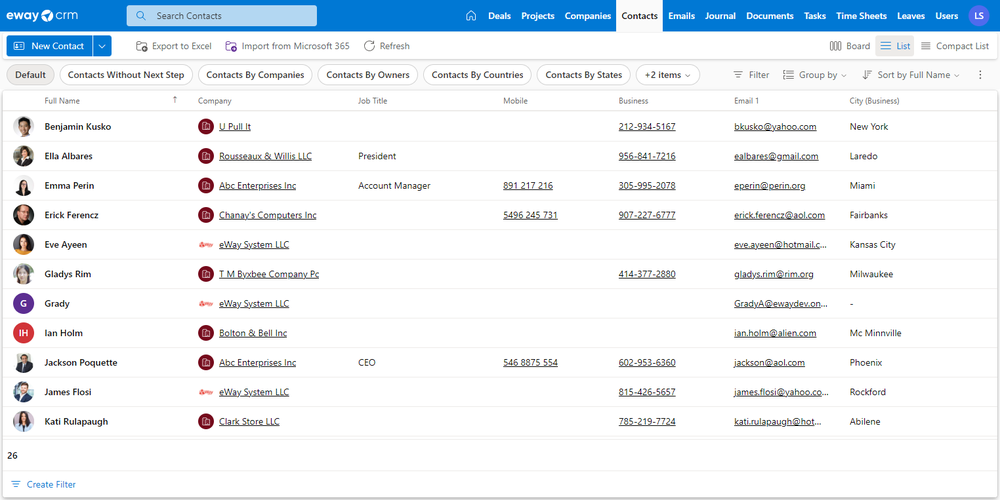
Now, you can use all your contacts (and emails) in eWay-CRM.
Import only emails
Availability: The function has been available since eWay-CRM 8.1.
Import of emails allows you to additionally save emails from your Microsoft 365 account that are not saved in your Way-CRM but still need them, or you need to save emails from your business account.
You can import emails from Contacts companies, Deals, and Emails modules. Just click Import Emails in the top part of the list.

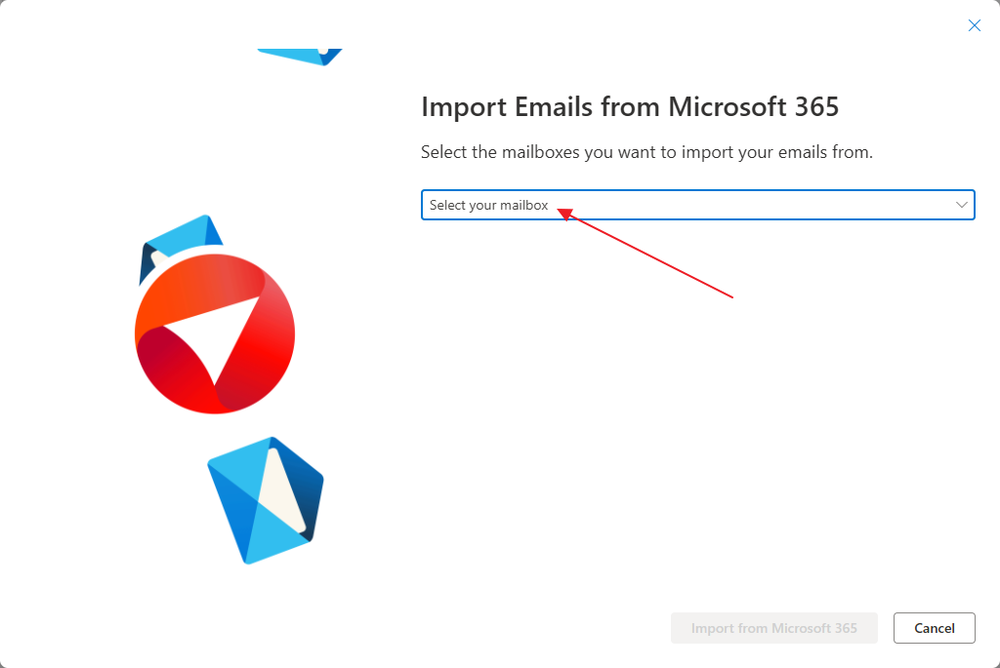
Then, click Select your mailbox to log into your Microsoft 365 account.
Once logged in, you will see the email account from which emails will be imported. If you wish to change the mailbox, simply click Add New Mailbox, and it will be automatically selected. Please note that you can only import emails from one address at a time.
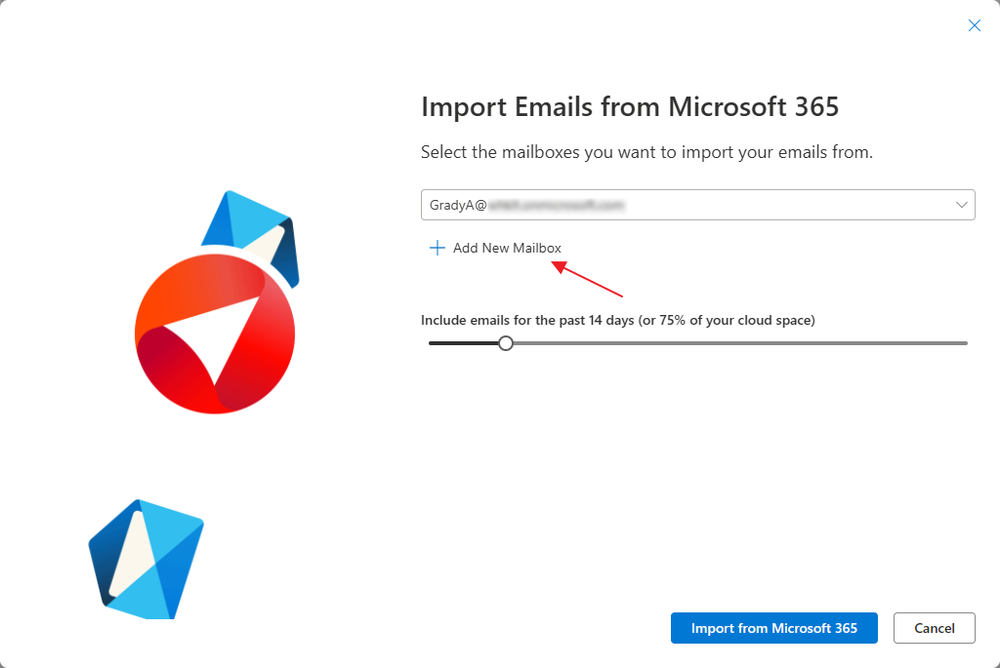
Next, select the period from which emails will be imported. Keep in mind that the longer the period, the more time and space the import will require.
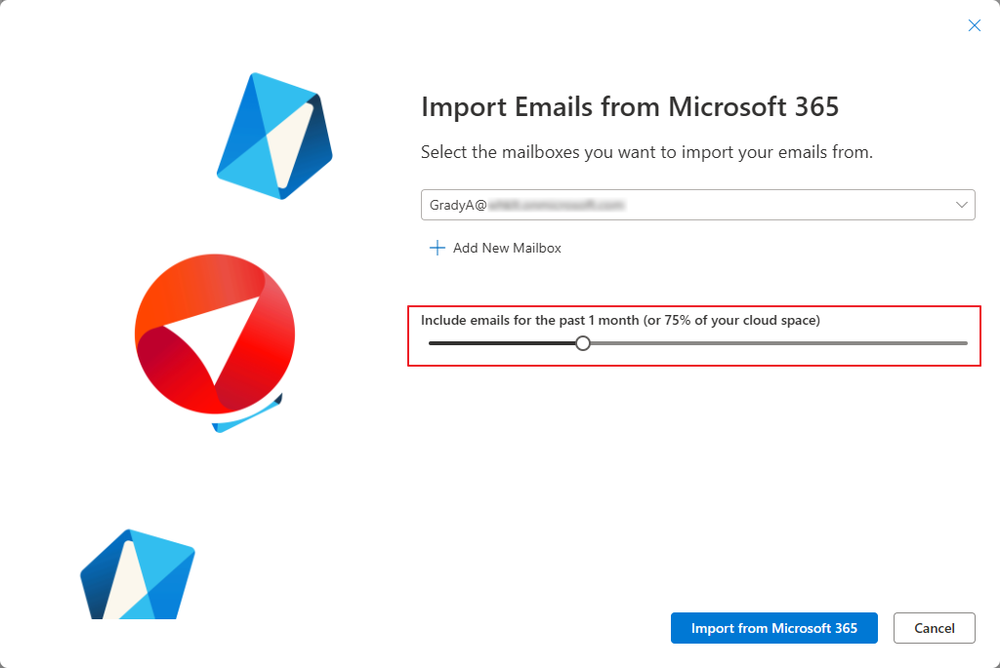
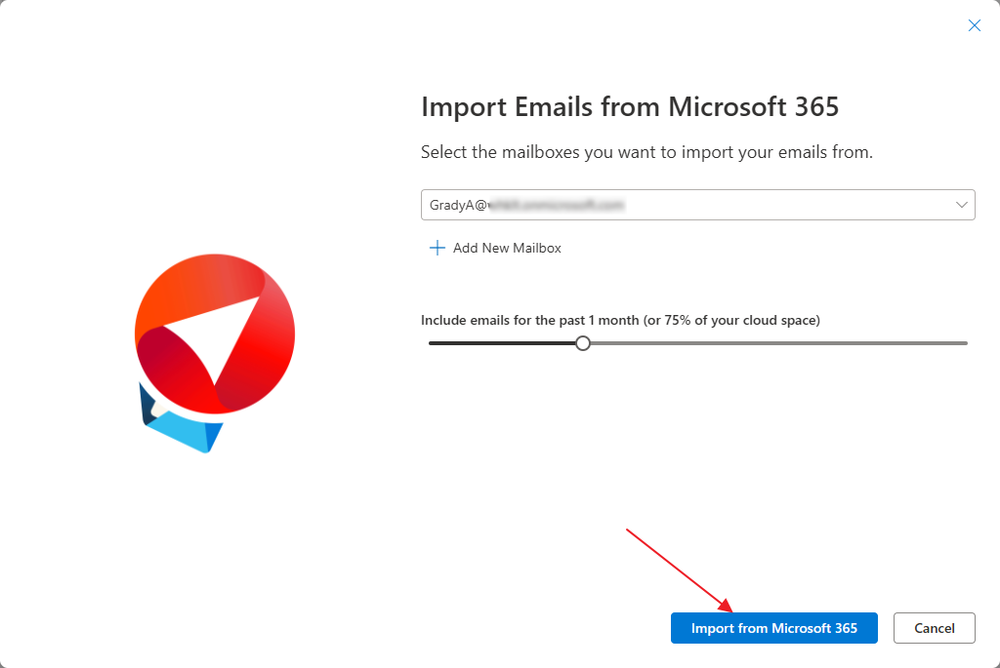
When you're ready, click Import from Microsoft 365. You can continue using eWay-CRM Online as usual while the import runs in the background. Once completed, all imported emails will appear in the Emails list.
Import emails to a new contact, company, or deal
Availability: The function has been available since eWay-CRM 8.3.
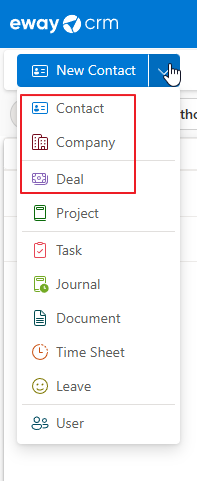
The feature allows you to easily import emails only associated with one contact, company, or deal. The procedure for all modules is similar.
Create a new contact (or company or deal).
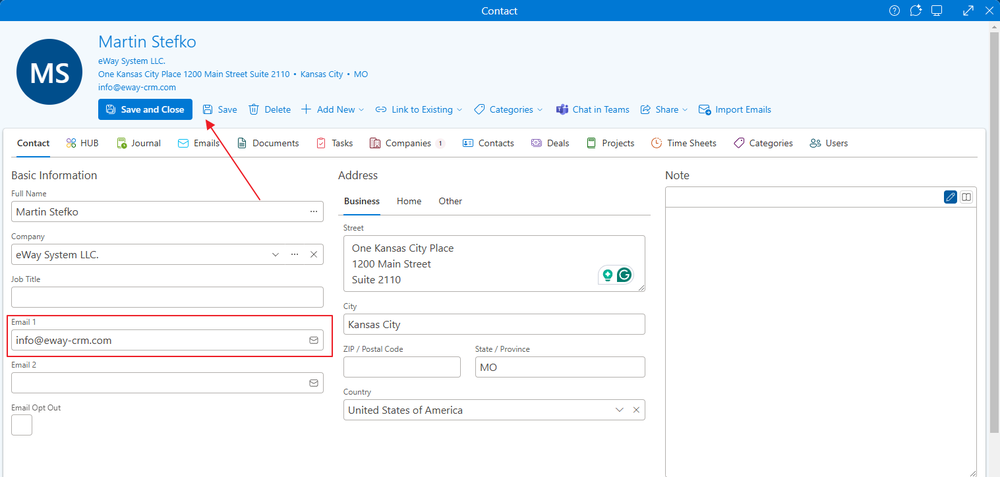
Enter the email address into the email field and fill in other details. At this point, simply save the item.
During saving, you will be asked whether you want to download email communication from your Microsoft 365 account to the new contact, company, or deal based on the email address you have not yet in your eWay-CRM.
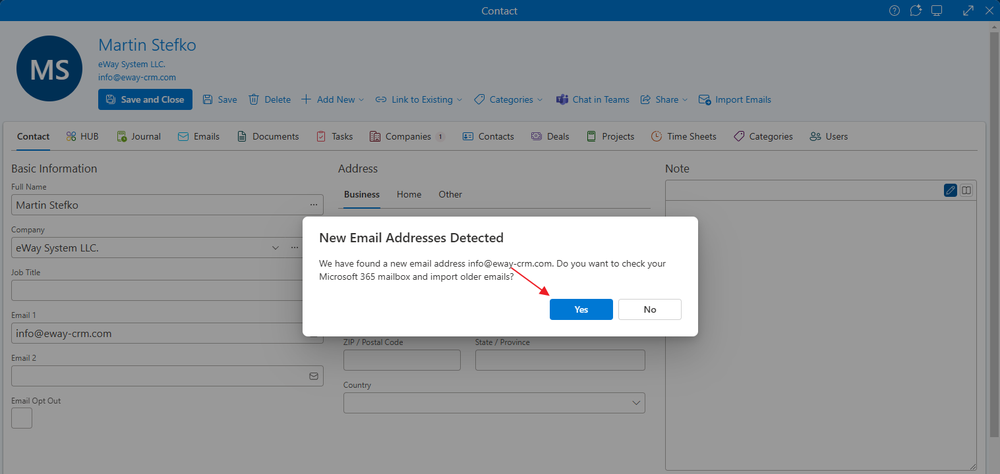
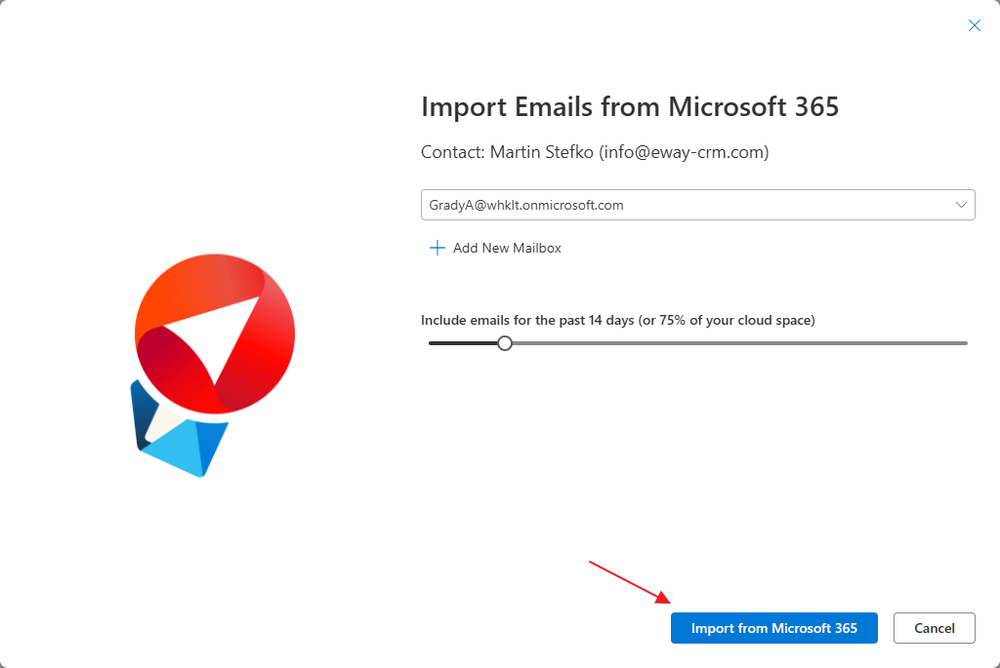
If you click Yes, you will be prompted to log in to your Microsoft 365 account. Once logged in, you can choose the period for which emails will be downloaded. Alternatively, you can change the mailbox from which emails should be downloaded. If set, simply click Import from Microsoft 365.
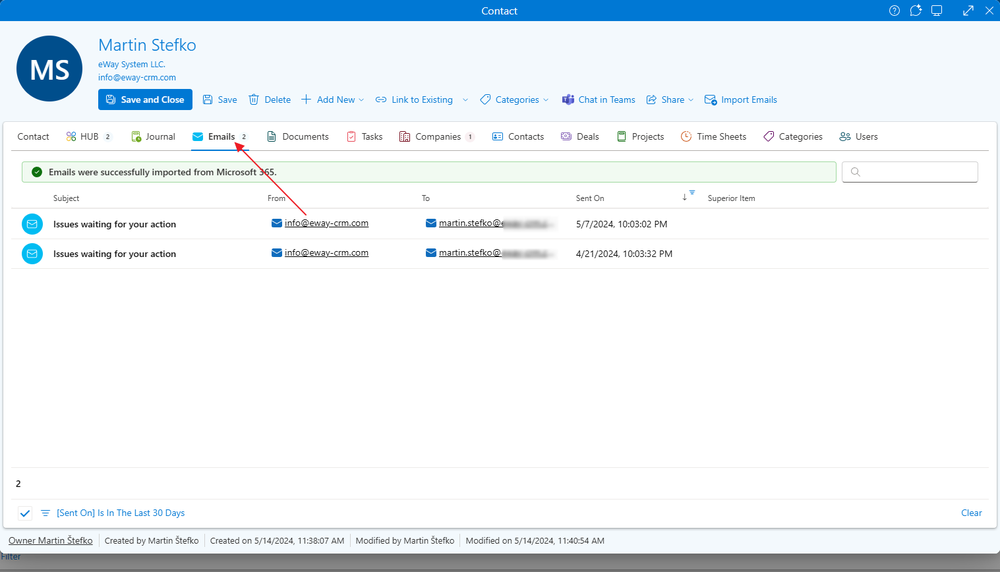
Only emails associated with the given email address (as recipient or sender) are actually imported. You can then immediately see all imported emails in the Emails tab on the contact (or company or deal).
Import emails to an existing contact, company, or deal
Availability: The function has been available since eWay-CRM 8.3.
If you already have an existing contact, company, or deal, you can simply open their details and also select the option to import emails for them. Just press Import Emails in the top menu of the item's detail.

If you click Yes, you will be prompted to log in to your Microsoft 365 account. Once logged in, you can choose the period for which emails will be downloaded. Alternatively, you can change the mailbox from which emails should be downloaded. If set, simply click Import from Microsoft 365.

Only emails associated with the given email address (as recipient or sender) are actually imported. You can then immediately see all imported emails in the Emails tab on the contact (or company or deal).

Create contacts based on received emails
This feature is available from the module Contacts & Companies (Lite). In the Lite version, the feature is limited to 10 contacts per month per user; in the Standard version, it's 50 contacts per month per user; in the Plus version, there are no limits on the feature.
Availability: The feature is available from eWay-CRM version 9.0.
If you are tracking emails from your Microsoft 365 account, you can create contacts from them, which will be saved in eWay-CRM with all related communication attached.
The button to import contacts can be found in the Emails module under the Import Contacts option, or you can simply proceed with the import via this link.

You will be prompted to sign in to your Microsoft 365 account. After logging in, a table with suggested contacts will appear, based on the emails in your inbox.
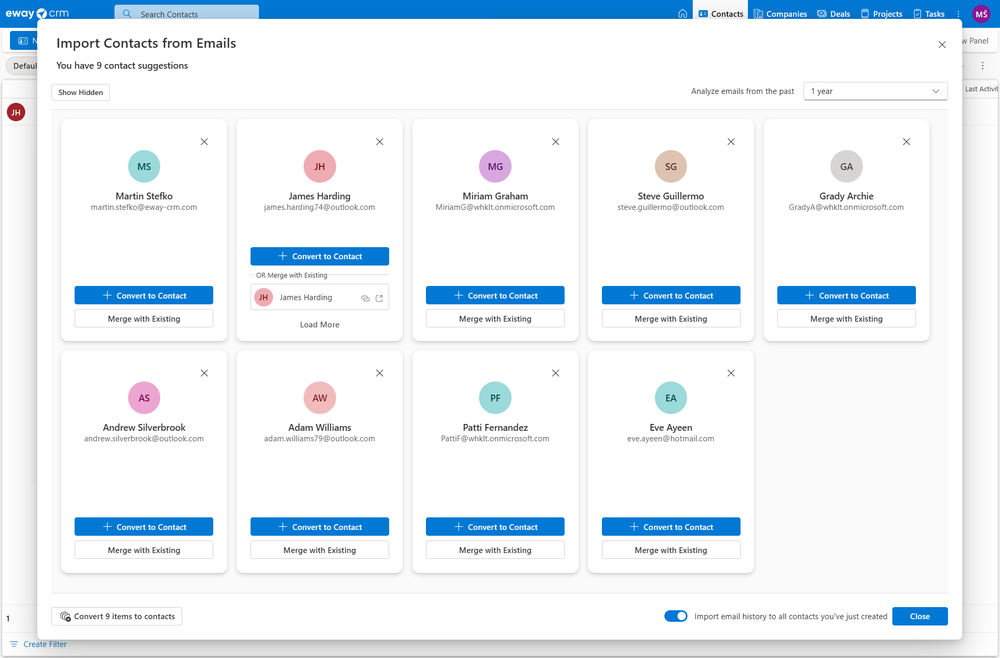
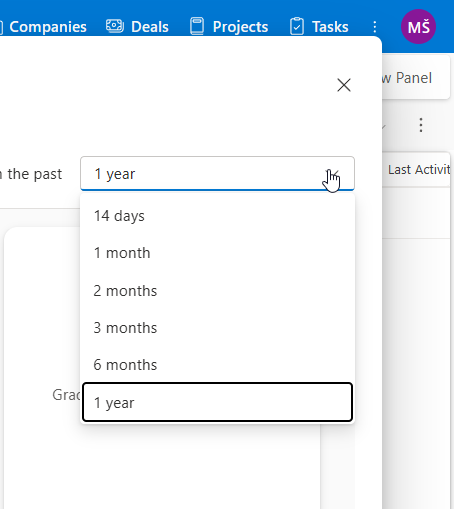
You can adjust the time range for which emails are searched and contacts are suggested.
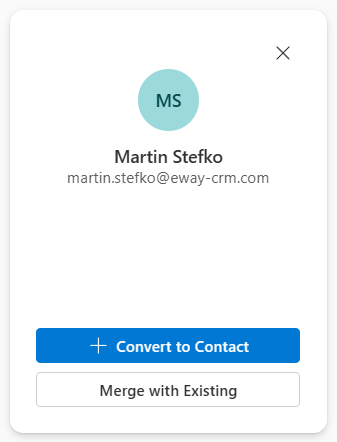
For each found item, you have the option to Convert to Contact or Merge with Existing. Converting creates a new contact while merging connects the found information with an existing contact that has a different email address in your database.
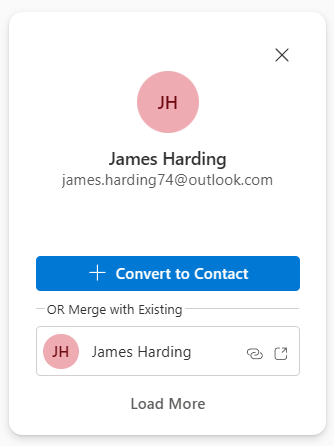
The feature can identify by name whether you already have the contact saved in the database and will directly suggest merging it.
The above options are designed to create contacts one by one but to simplify the process, you can click Convert items to contacts, which will save all the contacts you see in the table to eWay-CRM. A maximum of 20 contacts is displayed at a time. As you create contacts, they will gradually disappear from the table, and if the AI feature has detected more contacts in your emails, after importing the first 20, you will be offered the option to load more.
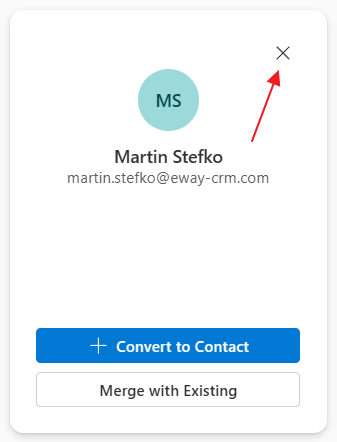
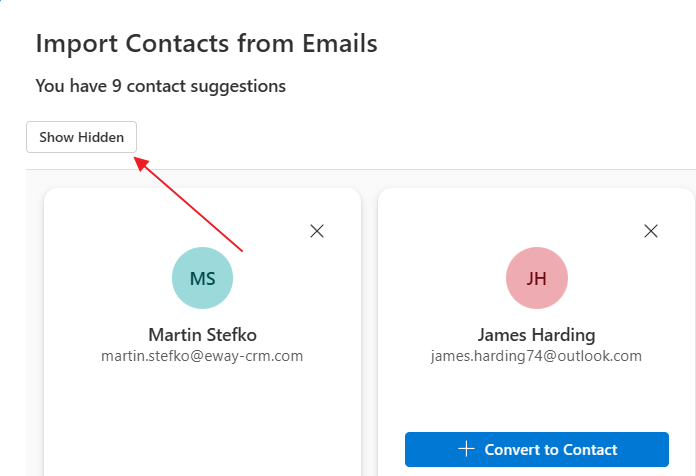
If the suggestions include contacts you do not wish to create, you can easily hide them by clicking the cross icon next to the specific contact.
If you want to view the hidden contacts, simply click Show Hidden at the top of the suggestions window.
You will then see a similar table to the suggestions, where even the hidden contacts can be converted into actual contacts.
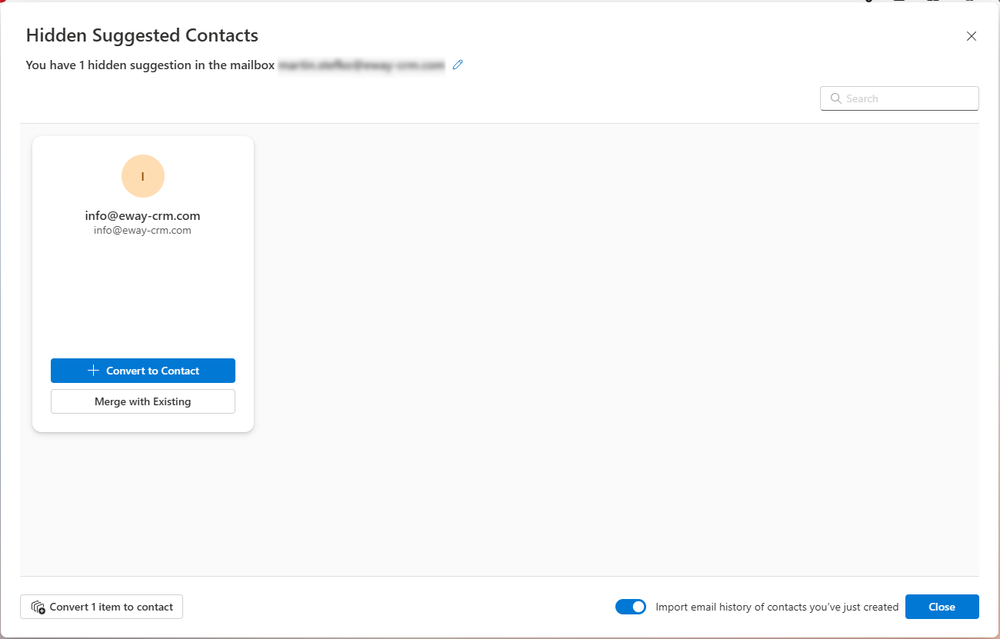
After closing the table, the Import email history to all contacts you’ve just created feature will allow you to import all emails associated with the newly created contacts into eWay-CRM. Once all contacts have been created, simply click Close.

If you have created contacts and had the Import email history to all contacts you’ve just created feature enabled, you will be given the option to import emails. You just need to choose how old the emails you want to import are, and then click Import Email History.
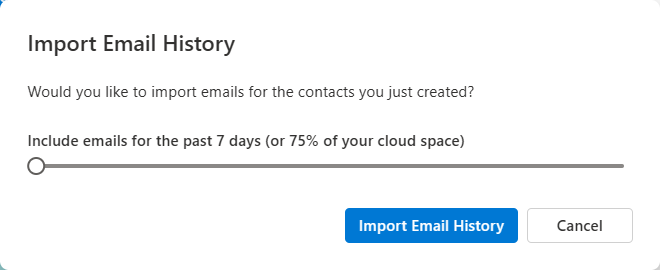
Once the import is complete, you will have contacts in your database along with the linked emails, which you can start working with right away.
