Create New Contact From Email
You can create a contact from any email you have in your Microsoft Outlook Inbox or Sent file. You can immediately and easily save new contacts to eWay-CRM Desktop with pre-filled information that the system gets from the email address.
Right-clicking an email in your MS Outlook will open a context menu with the option Convert to Contact.

The same result can be achieved, if you view the Email window and then click the Convert to Contact button in the top right part of the Email window.

If the email address is already saved in the Contacts module, you will be asked whether you want to open the existing contact and edit it. In other words, the newly-created Contact window will open with pre-filled data from the email.

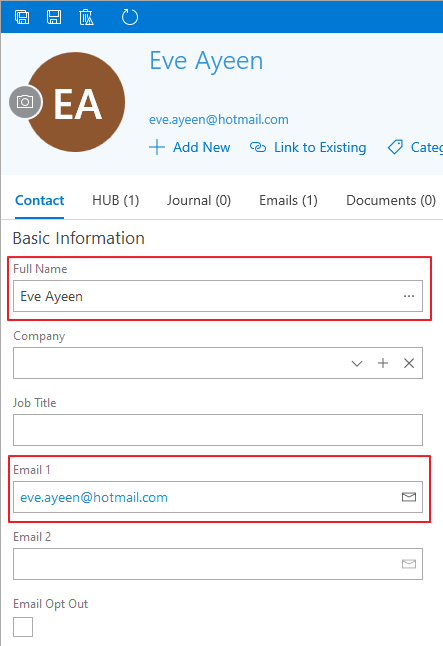
The Full name field is automatically filled with the name of the contact that can be related to the email address. The rules of the conversion are:
- Names in the "Dr. Josh Halloway MBA" or "Halloway, Josh Dr. MBA" form will be correctly saved to eWay-CRM with all degrees; of course, it works correctly for names without degrees.
- The Company filed is filled when the company with the same email address exists in Way-CRM or is filled as a text.
- Other name forms cannot be correctly related to matching fields in the Full name in the Contact window.
- If there is no name related to an email address, the surname of the contact will be the prefix of the email address (text before the @ mark).
The Email 1 field is filled with the email address. If you are creating the contact from an incoming email, the pre-filled address will be the address of the sender. If you are creating the contact from an outgoing email, the pre-filled address will be the address of the receiver. If there are more addresses in the sent email, contacts will be created for all addresses.
Email from what the contact was created will be related to the contact and you can see it in the Emails tab.
All pre-filled entries can be edited according to your needs. The contact will be saved by clicking the Save or Save and Close button in the top left part of the Contact window.
