Custom Fields Management
The list of all modules in eWay-CRM can be found in the left part of the Administration Application. If you want to manage custom fields of a given module, simply click the module in the list.
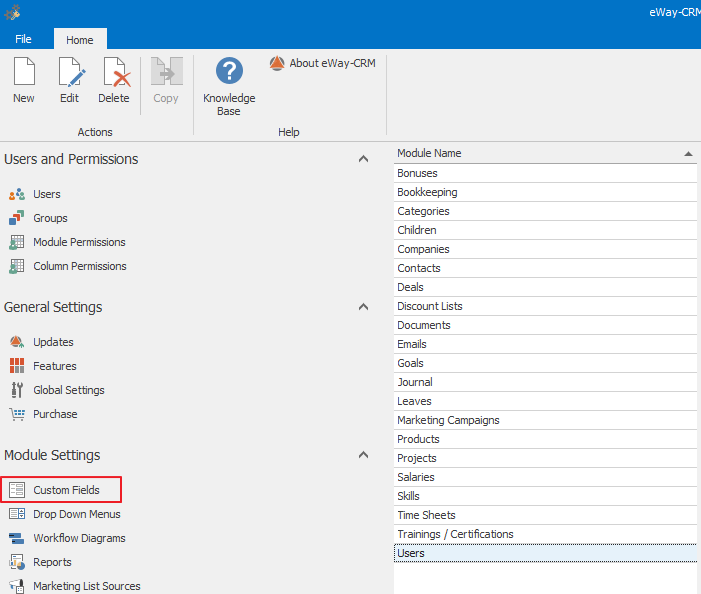
The custom fields list of a given module is displayed in the main part of the window.

| Column | Description |
|---|---|
| Rank | The rank of custom fields in the Custom Fields section. |
| Field Name | The same name will be used in the item window. |
| Type | Column specifies the type of the custom field. |
| Other Settings | Additional information for the field, e.g. the format of numeric field. |
| DB Field | Column displays the name of a column which is used in the database structure. This name can be used for creating some actions within workflow. |
| Category | Column defines what the category of a custom field is - according to the category, the fields' structure in the Custom Fields section of the item window is created. |
| General | Column contains only check boxes - if the check box is marked, the custom field will be shown also in the General section of the item window. Custom fields that are not marked won't be shown in the General section. For more information about item window sections, go to General and Custom Fields Section. |
| Comment | The comment is listed in the column and will be displayed when you point your mouse cursor at this field. |
Create New Custom Field
In the Custom Fields section choose a desired module in Module Name column and then click the New icon for creating a new item. The New icon is situated in the upper part of the Administration Application window in the ribbon.

The new custom field card will appear and you can enter the necessary data. More information about fields on the custom field card can be found in the chapter: User values card.
When you have entered all the necessary data, you can save the custom field by the OK button. You can also click Cancel, but changes will not be saved and window will be closed.
Important: If the custom field is added, let eWay-CRM synchronize - eWay Agent turns from blue to green. If so and you are in a dialog or a window where new field should be used, please refresh the window.
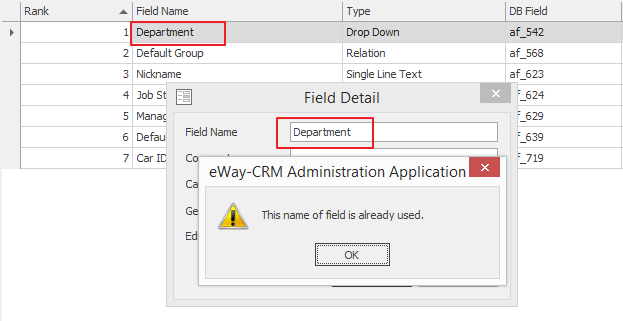
If you are creating new custom field and using name that has already been used for any other custom filed in that module, the new custom field cannot be created. Each custom field in one module has to have unique name. If there is a name duplicate, the dialog will appear during creating a new custom field (see picture below).
Edit Custom Field
Clicking the Custom Fields button in the left menu will take you to the custom fields list in eWay-CRM. In the left part of the module list, select the module to be edited. The custom fields list will appear in the main part of the window.
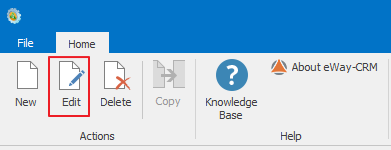
Double-clicking the custom field in the list will bring up the selected custom field card where you can edit the entered data. The same result can be achieved by selecting a custom fields in the list and clicking the Edit button in the left part of the ribbon in the Administration Application window.
More information about fields on the custom field card can be found in the chapter: Create Custom Field.
After editing, you can save changes by clicking OK. You can also close the custom field card with Cancel, but changes will not be saved.
Change Custom Fields Order
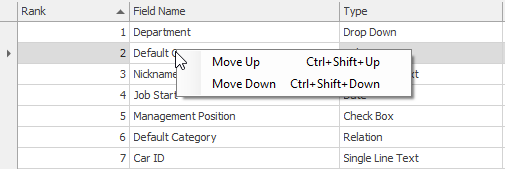
In addition to the editing of fields, you can also change their order - it is the order in which they will be displayed on particular module dialog. To change the order, right-click the custom field you want to move. In the context menu, choose whether you want to move the custom field up or down. You can also use shortcuts. Left-click the custom field for choosing it and then press Ctrl+Shift+Up for moving the custom field up for one level or press Ctrl+Shift+Down for moving the custom field down for one level.
Remove Custom Field
Clicking the Custom Fields button in the left menu will take you to the custom fields list. In the left part of the module list select a module to be edited. The custom fields list will appear in the main part of the window.
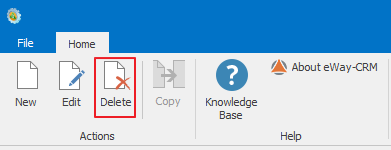
Select the item to be deleted with your mouse and click the Delete button in the left part of the ribbon in the Administration Application window.
A confirmation dialog will appear, asking whether you want to remove the custom field. Clicking Yes deletes the custom field, clicking No will cancel the removal.