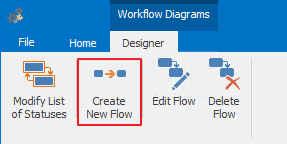
Create New Flow
This chapter describes the process after clicking the Create New Flow in the Designer tab. This manual helps you to create a new flow between existing workflow statuses.
The window with the field for the selection of parent and existing statuses of flow will appear – you can select from all existing workflow statuses of a given item type. The <initial> option means the initial item status in which the item will automatically be after its creation.
Select initial item status in the Parent Status field and select desired final item status in the Child Status field in this workflow.
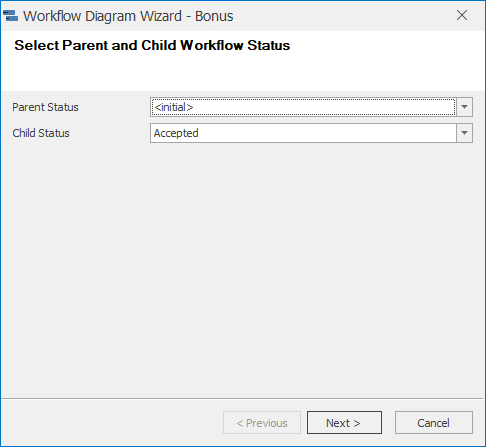
You can return to the previous window with the Previous button, clicking Cancel finishes the entire creating a flow using existing workflow statuses process without saving any changes. If you wish to continue the process, click the Next button.
In a next step a table for the definition of the child flow status will appear. Every row responds to one language version – en is the English, cs is the Czech, de is the German, ru is the Russian and sk is for the Slovak (FileAs is a general name of the status). You have the possibility to edit status names in the appropriate languages. The table cells can be activated for writing by the mouse click.
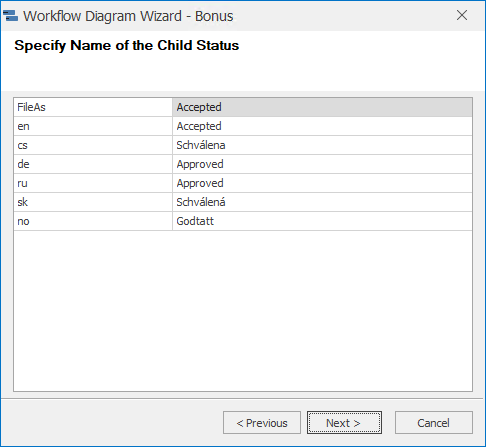
You can return to the previous window with the Previous button, clicking Cancel finishes the entire creating a flow using existing workflow statuses process without saving any changes. If you wish to continue the process, click the Next button.
Another step is intended for selecting the user groups that will have permissions to do the flow between the workflow statuses. A list of all groups is situated in eWay-CRM, marking the check box by the name will assign permission for the change of workflow status to the given group.
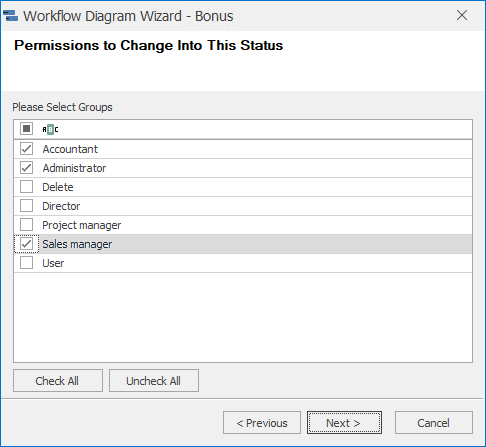
The empty row above the group list is intended for group filtering. When you enter text into this row, only the groups whose names begin with the given text will remain in the list. If you mark the check box in the filtering row, only the groups that have their name marked and are related to this user will remain in the list. Filtering conditions are displayed in the lower part of the group list. Clicking the Edit Filter button will bring up the Filter Editor window – for more information take a look at the chapter: Items Filtering.
Clicking the Check All button will mark all user groups in the list, clicking Uncheck All will cancel the selections of all groups in the list.
You can return to the previous window with the Previous button, clicking Cancel finishes the entire creating a flow using existing workflow statuses process without saving any changes. If you wish to continue the process, click the Next button.
In the next step you have the possibility to define actions that will be performed within the status change. More information can be found in the chapter: Actions Introduction. Select the actions that you want to perform in the Action Type field – more information about action types can be found in the chapter: Action Types - Before and After.
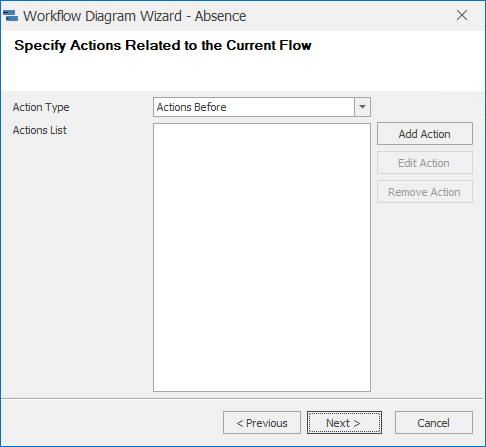
A detailed manual for action definition can be found in the chapter: Define and Edit Actions Between Workflows.
You can return to the previous window with the Previous button, clicking Cancel finishes the entire creating a flow using existing workflow statuses process without saving any changes. If you wish to continue the process, click the Next button.
The information overview about flow between workflow statuses created by you is displayed in the next window.
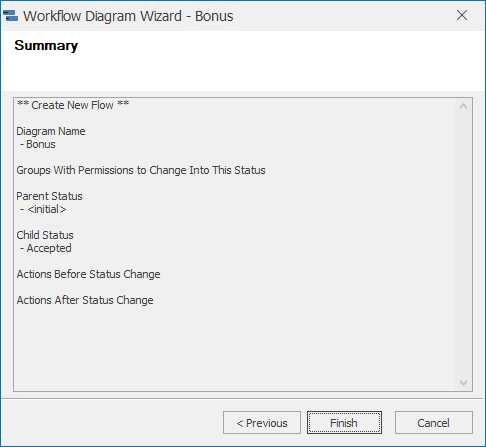
You can return to the previous window with the Previous button, clicking Cancel finishes the entire creating a flow using existing workflow statuses process without saving any changes. Clicking the Finish button will finish the creation of a flow using existing workflow statuses.
More information about workflow can be found in the chapter: Edit Workflow.