Groups Management
In Administration Application, you can create new groups, edit existing groups and delete groups you do not need anymore.
Create New Group
If you want to create a new group, you need to switch to Groups and click the New icon. The New icon is situated in the left part of the Administration Application ribbon in eWay-CRM.

The new group window will appear and you will have to enter all the necessary data. More information about fields on the group card can be found in the chapter: Group Card.
When you have entered all the necessary data, you can save the group by clicking OK. You can also close the card by clicking the Cancel button and the changes will not be saved.
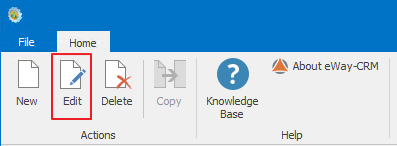
Edit Group
Clicking Groups in the left menu will take you to the list of groups in eWay-CRM. Double-clicking a group in the list will bring up the selected group card, where you can change entered values. The same result can be achieved by selecting a group from the list and clicking the Edit button in the left part of the Administration Application ribbon in eWay-CRM.
More information about fields on the group card can be found in the chapter: Group Card.
When you have entered all the necessary changes, you can save the group by clicking OK. You can also close the card by clicking the Cancel button and the changes will not be saved.
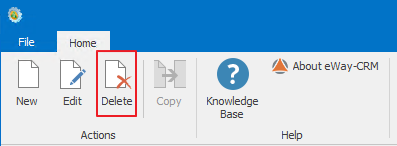
Remove Group
Clicking Groups in the left menu will take you to the list of groups created in eWay-CRM. If you want to remove an item, simply select it with the mouse and then click the Delete button in the left part of the Administration Application ribbon.
A confirmation dialog will appear and you need to select whether or not you want to remove the group. Clicking OK deletes the group and clicking Cancel will cancel the removal.