Define and Edit Actions Between Workflows
When you create a new flow or modify an existing one, you can define the actions that are performed in the transitions between two statuses. More information about each action can be found in the chapter: Action Types - Before and After.
Actions Management
Create New Action
The dialog where you can create actions that should be performed within a transition will appear when you define a new flow between workflow statuses.

The list of existing actions is displayed in the Actions List field; these actions are already defined and are triggered every time the transitions between workflow statuses are made.
In order to create a new action, select the action type in the Action Type field – more information about action types can be found in the chapter: Action Types - Before and After.
Clicking the Add Action button displays the Workflow action wizard for the above-selected type.

Select the action that you wish to perform within the transition between the statuses in the Actions List field. The description of each action, its possibilities, and parameters can be found in the category Actions, where the chapter names respond to action names.
Checkbox Execute Only Once allows you to disable the repetition of actions. Leaving the box unchecked triggers the action whenever the transition between the given statuses is executed. For example, a document may get into the status For Approval several times in its approval process, and every time it gets there, a request for inspection concerning the document may be sent to an authorized person. Tick the check box to set the contrary, that the action is executed only if the item (project, document, etc.) has not yet been in the status to which you are currently changing. E.g., a task for an accountant to issue an invoice is sent only if the project has not been in the status of Invoicing in the past. Option Execute Only Once applies only to Create Relation, Create Relation, and Send Email.
Name the action according to your preferences (e.g., Task for accountant - invoicing) in the field Description. This name will afterwards be displayed in the list of actions set for the transition.
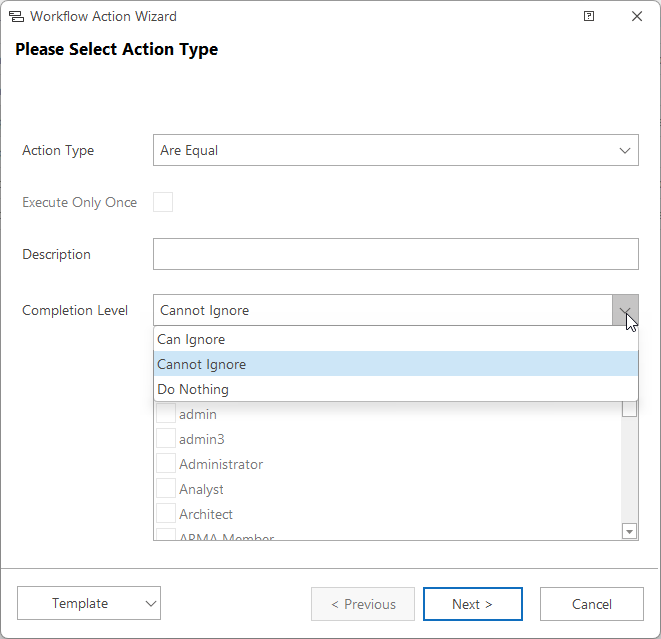
Completion Level defines for which user groups the action completion (e.g., filling some field) is mandatory and for which it is not. Levels can be combined - for certain groups, actions may be required, and for some others, just optional. Can Ignore option can be selected only if it is logical for the action.
- Cannot Ignore option for selected user groups strictly requires that all conditions must be completed for shifting to the next status; otherwise, the user will not be able to change the status.
- Can Ignore choice only warns the user with a notification dialog that he hasn't completed the condition, and the user can choose whether or not he wants to move the flow to the next status. If he chooses not to, he can complement the missing data.
- Do Nothing option for selected user groups will not display any notification. Level can be combined – this action can be necessary for some user groups and not for others.
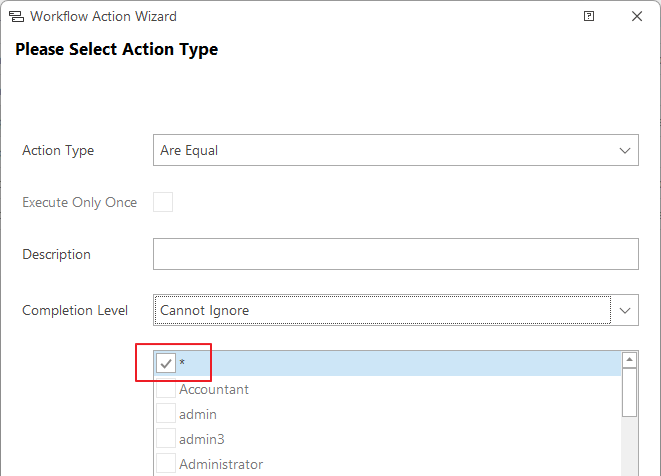
If a completion method is selected, at least one section must be marked with an asterisk (*). If no other completion method is defined for the group, this variant will be used as default.

Clicking the Next button will take you to the action parameter definition, and clicking Cancel will finish the action creation process without saving any changes.
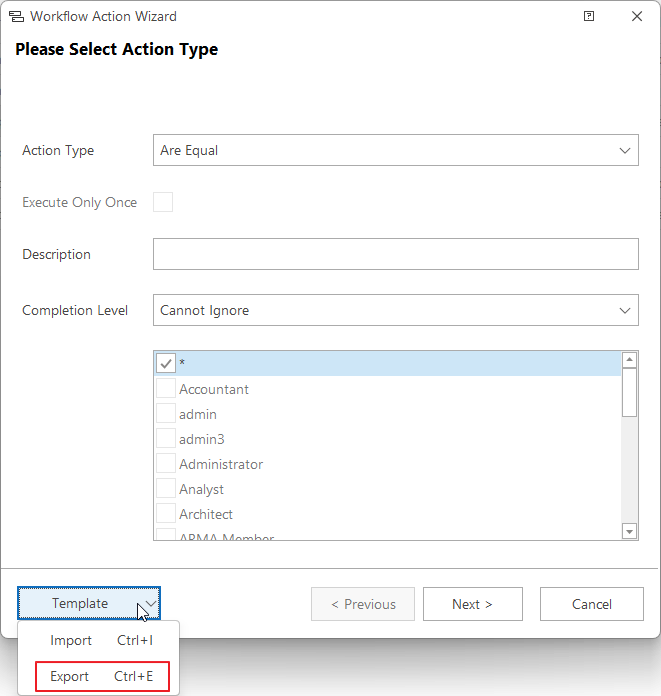
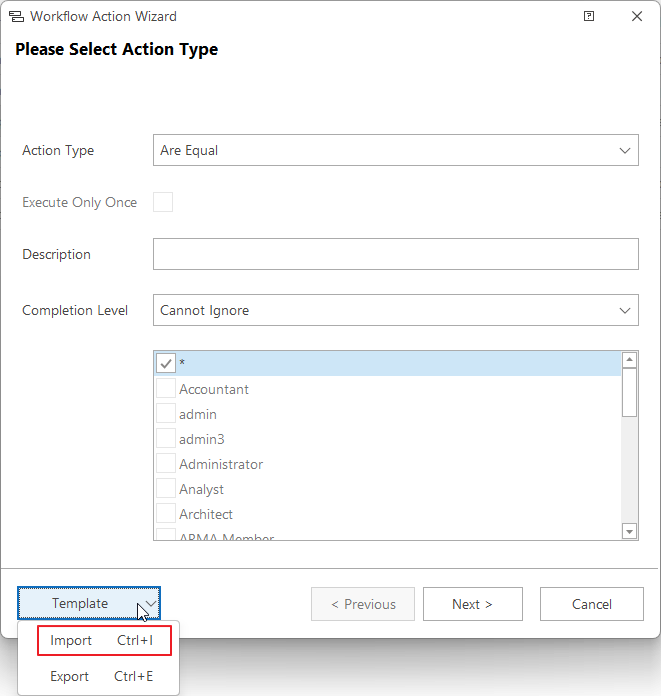
The Template button is intended to facilitate the work with action workflow definitions. It allows you to import and export already created definitions. More information about importing and exporting workflow action definitions can be found in the chapter: Import and Export of Workflow Action Definitions.
Edit Action
If you wish to edit actions, you need to go to the workflow definition and find the correct workflow type (e. g. project_commision or document_contract, deal and so on) and in the correct workflow you need to find the appropriate flow (e. g. between Proposal -> Contract) in which the actions definition is situated. Consequently, you need to go to flow editing (double-clicking the item or via the Edit button situated in the upper left part of the Home tab in the Workflow Diagrams section of the Administration Application). You need to go through the wizard using the Next button to the dialog that contains the list of defined actions (see first picture). When you select an action in the Actions List, the Edit action button will be activated for action editing, and the consequent process will be the same as with a new action definition.
Remove Action
If you wish to remove an existing action, it is the same as editing. You need to find the correct workflow type (e. g. project_commision or document_contract, deal, and so on) and in the correct workflow, you need to find the appropriate flow (e. g. between Proposal -> Contract) in which the actions definition is situated. Consequently, you need to go to flow editing (double-clicking the item or via the Edit button situated in the upper left part of the Home tab in the Workflow Diagrams section of the Administration Application). You need to go through the wizard using the Next button to the dialog that contains the list of defined actions (see first picture). When you select an action in the Actions List, the Delete action button will be activated, and it allows you to remove the selected action from the workflow.
Import and Export of Workflow Action Definitions
If you create an action and you want to use it for workflow in another module, you do not have to manually insert it again; you can export it to an XML file and then import it into the workflow where you need it.
For export, open the existing action (see Edit Action) and click Template, and select Export. Save the template to an XML file, just select the path on your disc where you want to save the file.

If you have the template saved and want to use it for another workflow, just create a new action using the Add Action button (see above) and then click Template and select Import. The XML file is on your disc, so just select it and the action will be loaded - all its fields will be prefilled.

Import: If you want to import before action, you need to click Add Action when the Actions Before is selected in the Action Type field. Before action cannot be imported when you have Actions After in the Action Type field, and the other way around.
