Groups (Create and Manage)
Availability: New Administration Center has been available since eWay-CRM 6.0.0.
Groups are important for the distribution of users in eWay-CRM, their permissions, and for specific functions. Correct setting of groups allows you to manage users and secure the correct work of eWay-CRM in your specific business structure.
Article contains:
Groups are on the left menu in the Administration Center.
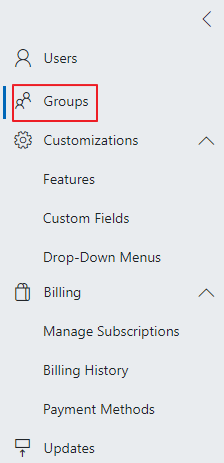
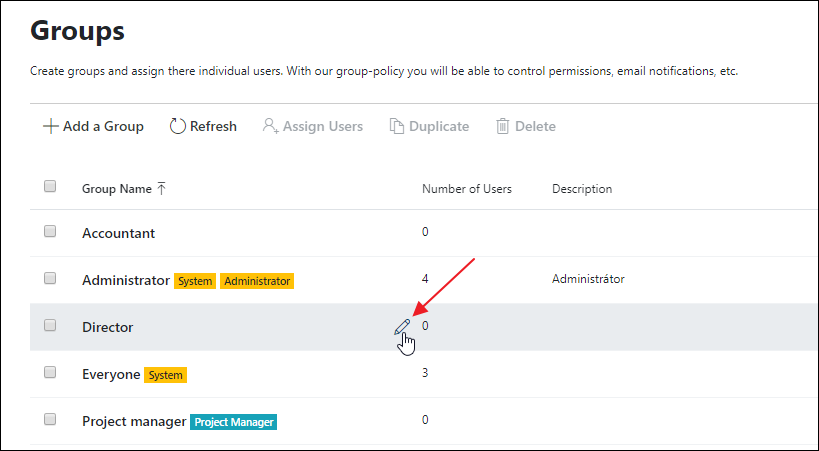
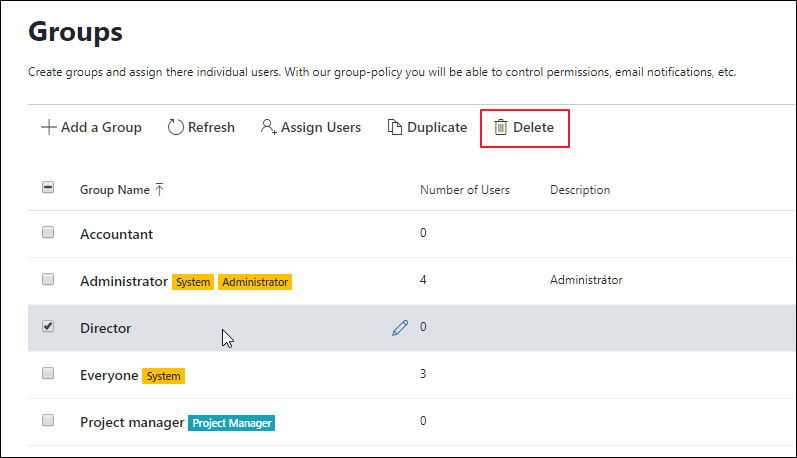
When you click Groups in Administration Center, you will see the list of available groups:

System Groups
eWay-CRM contains groups that are necessary for the correct working of the whole system - these groups cannot be deleted and can have limited editing. These groups are:
- System - contains all system users.
- Everyone - this group contains all non-system users. The group does not contain API users.
- Administrator - users with access to the Administration Center.
Work With Groups List
Top Menu
Top menu of the list contains these possibilities:

| Button | Function |
| Add a Group | Add new group - see Add Group. |
| Refresh | Update the list to see whether another user with administration accounts did not create new groups or edit or delete some existing ones. |
| Assign Users | You can add users to the selected group - see Assign Users. |
| Duplicate | You can create a copy of the selected group with all its settings - see Duplicate Group. |
| Delete | Delete selected group - see Delete Group. |
| Search | You can easily search in the list. You will see only groups that contain searching strings in some columns. |
Groups List
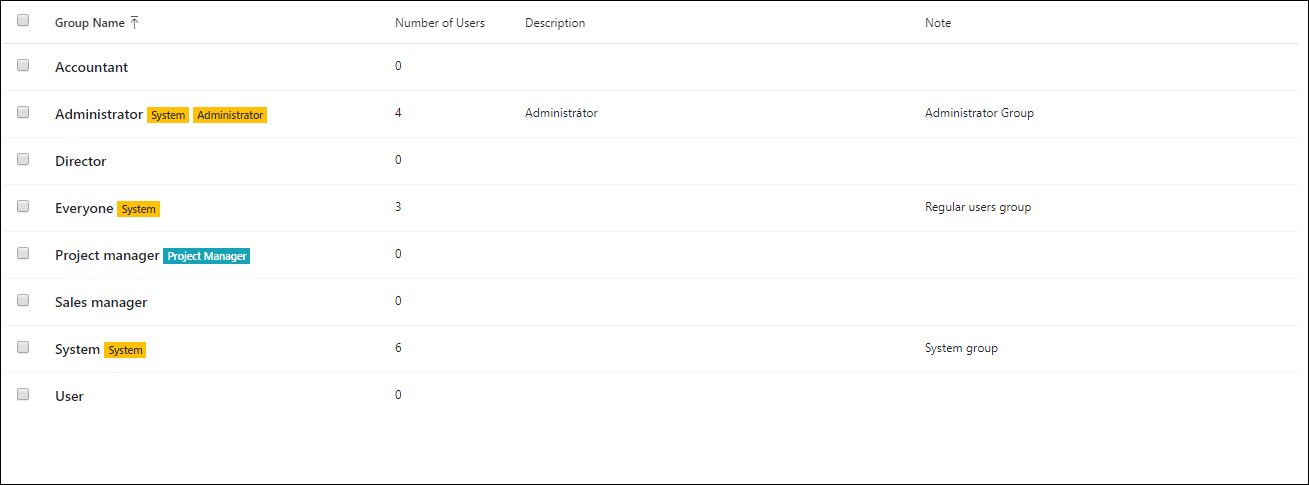
The group list looks similar to this one:
| Column | Description |
| Check Box |
Click the group and you select it. The check box indicates that the group is selected. You can select more than one group at a time. |
| Group Name |
Name of the group with possible label:
|
| Number of Users | Number of users that are assigned to the group. |
| Description | Description of the group to specify it. |
| Note | Note that can be added to the group. This can be longer text. |
Add Group
If you want to add a new group, just click the Add a Group button:

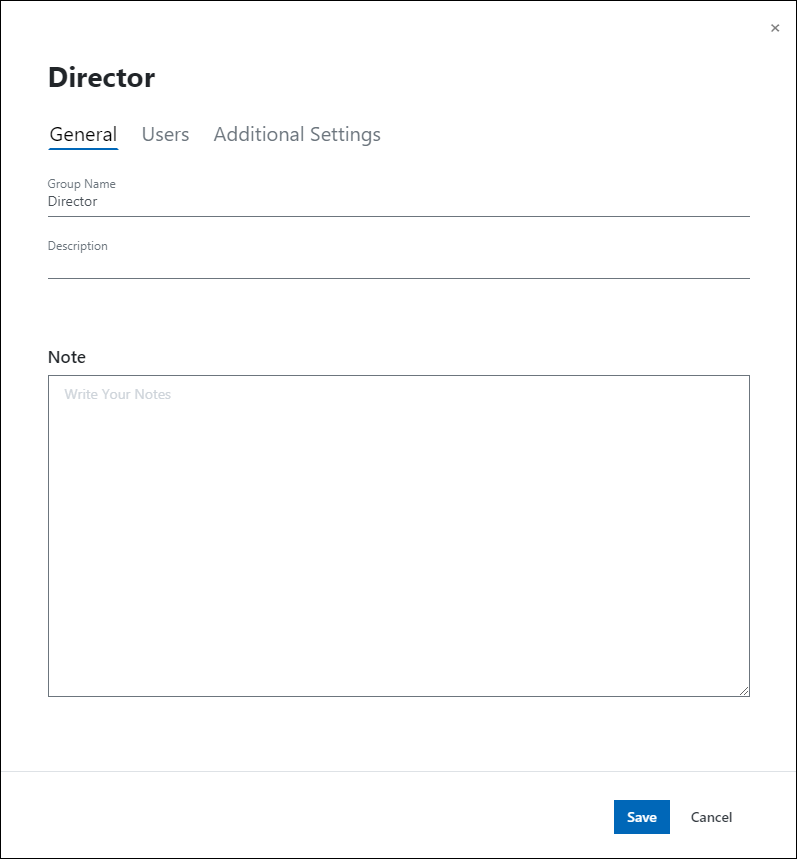
The guide will pop up where you can insert a Group Name, Description, and Note.
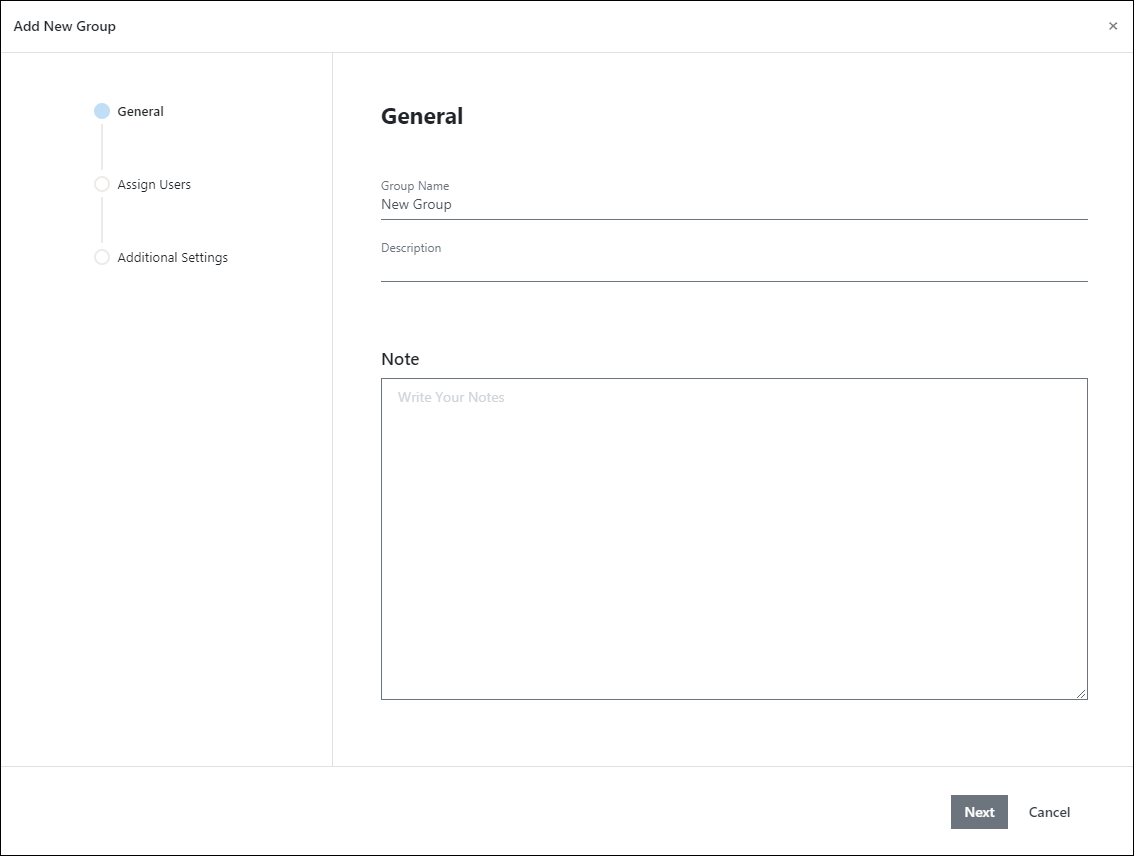
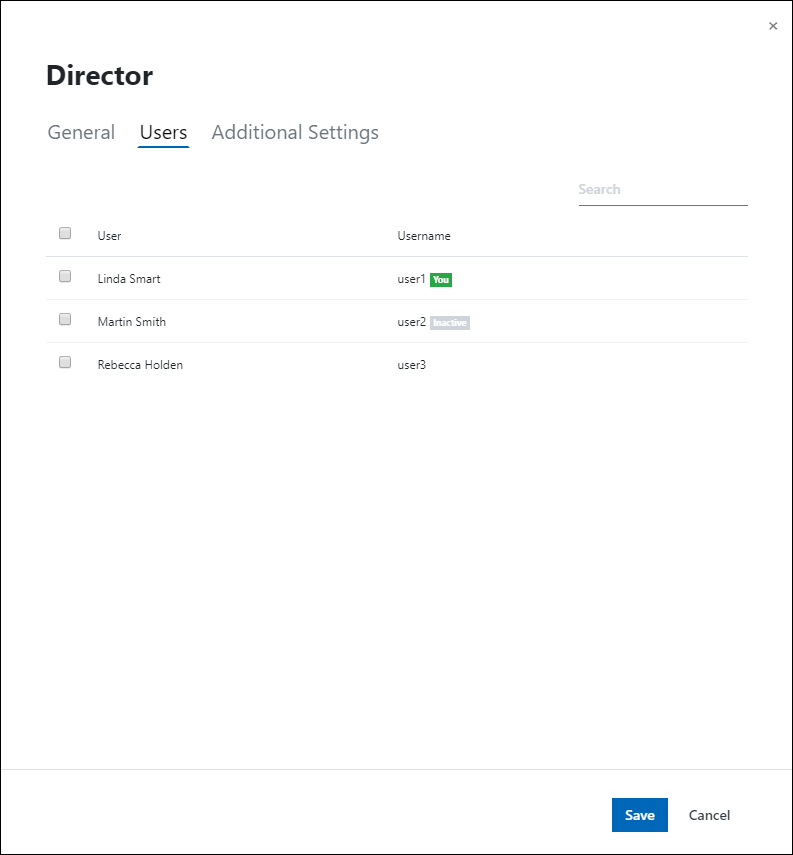
If you insert values, go on by clicking the Next field. In the second step, select users that will be assigned to this group. You can search users using Search field.

If you want to select a user, just mark him. You can select as many users as you want. If you are done, go on by clicking Next.

The last step gives you these options:
- Available as a role in project teams - if you are creating a team on a project, this group can be selected as a role for team members - see Teams.
- This role is used for marking users as project managers - when creating teams in eWay-CRM, one person has to be the project manager. By choosing a role with this setting, you will mark a user as the project manager - see Teams. Only one group can be labeled as Project Manager. So, if you mark this field, a group previously marked as Project Manager loses this role.
For completion, click the Create Group button. The new group will be displayed in the groups list.
Edit Group
If you want to edit some group, double-click the group or move the mouse over this group and click the pencil icon that shows up:
Now, you can edit what you want. The general tab gives you the option to change the name, description, and note of the group.
The Users tab allows you to add users to the group or remove users from this group.
The Additional Settings tab gives you the opportunity to change other settings:
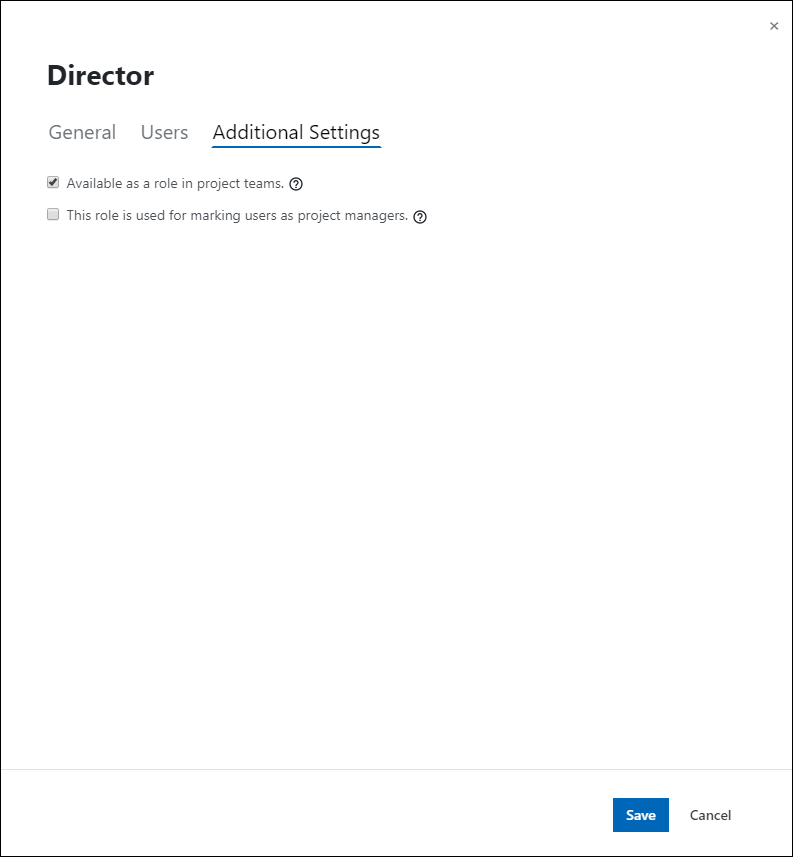
- Available as a role in project teams - if you are creating a team on a project, this group can be selected as a role for team members - see Teams.
- This role is used for marking users as project managers - when creating teams in eWay-CRM, one person has to be the project manager. By choosing a role with this setting, you will mark a user as the project manager - see Teams. Only one group can be labeled as Project Manager. So, if you mark this field, a group previously marked as Project Manager loses this role.
To confirm changes, click Save.
Assign Users
Click one or more groups to select them. If you select group(s), the Assign Users button becomes active:
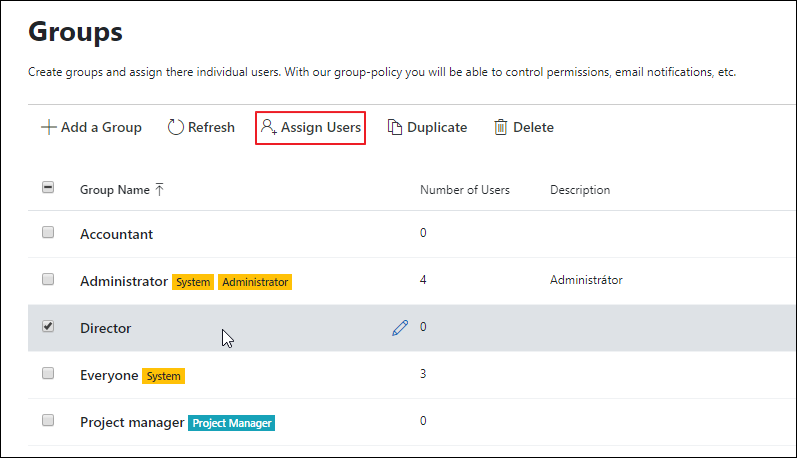
When you click Assign Users, you will see a list of users available for assigning to the group. You can see groups you can assign users to in the heading.
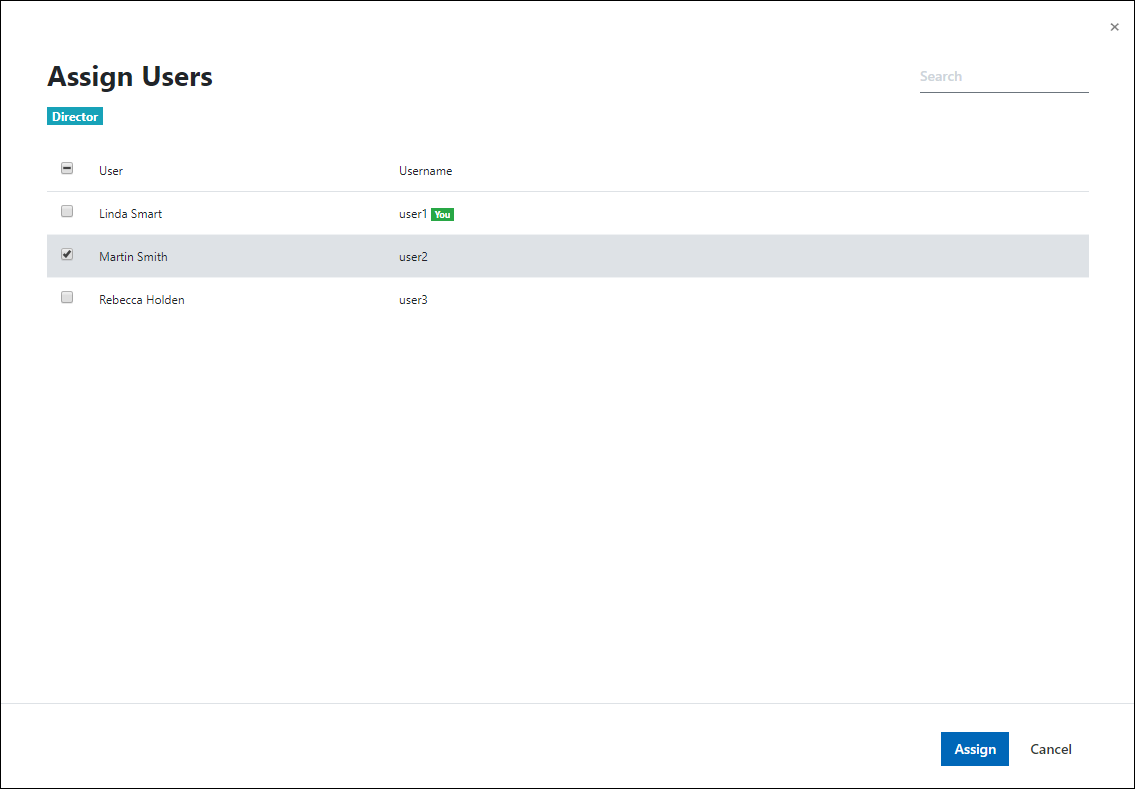
If you want to assign a user to the group, just mark the user, If your user list is too long, you can use the search field. Click Assign to finish the assignment.
Duplicate Group
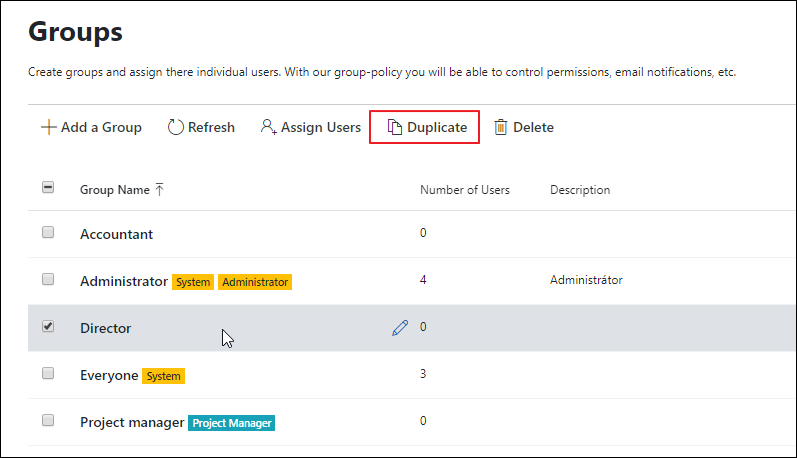
Click one group to select it. If you select group, the Duplicate button becomes active:
After clicking Duplicate, you will see a dialog with these options:
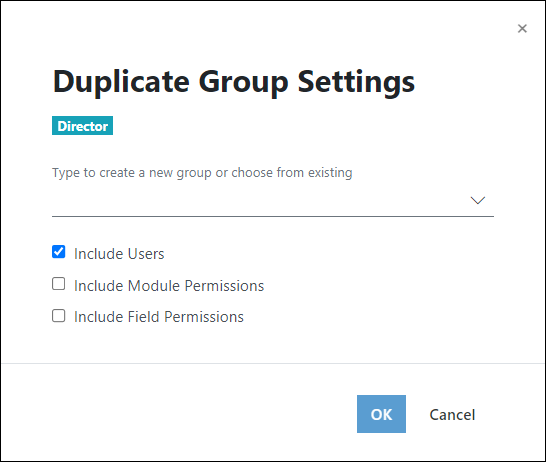
- Type to create a new group or choose from existing - insert the name of the new group or select one that is already existing.
- Include/Replace Users - mark if you want to copy all users from the duplicated group to the new one, or replace them if you duplicate to the existing group.
- Include/Replace Module Permissions - mark if you want to copy also module permissions from the duplicated group to the new one, or replace them if you duplicate to the existing group. It includes also workflows and all their actions.
- Include/Replace Field Permissions - mark if you want to copy also field permissions from the duplicated group to the new one, or replace them if you duplicate to the existing group.
To finish duplicating, click OK - a new group will be displayed in the list.
Delete Group
Click one or more groups to select them. If you select group(s), the Delete button becomes active (but none of the users cannot be system):
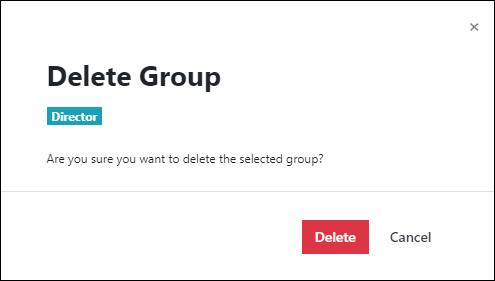
When you click Delete, you will see a confirmation dialog where you can check that you really delete only those groups you want to delete. Only groups are deleted, not users that are part of the group.
To confirm removing the group, just click the Delete button.