How to Create Self-signed SSL Certificate on Local IP Address
Description
This article describes necessary steps on how to generate a self-signed SSL certificate for eWay-CRM webservice and how to use it in Windows.
Version
All versions of eWay-CRM
Difficulty
Medium
Resolution
1. Server part
Launch PowerShell as administrator.
Using this command, you create a certificate for the eway.local domain a 192.168.1.20 IP address. Change the domain and IP address to your needs. The validity of the certificate will last 25 years - you can change it by the NotAfter parameter.
Use the entire command as is. eWay-CRM will only accept an untrusted certification authority (ERR_CERT_AUTHORITY_INVALID), other errors such as ERR_CERT_COMMON_NAME_INVALID will prevent the connection from working.
New-SelfSignedCertificate -Subject eway.local -TextExtension @("2.5.29.17={text}DNS=eway.local&IPAddress=192.168.1.20") -NotAfter (Get-Date).AddYears(25) -CertStoreLocation cert:\LocalMachine\My
If you call the command, you will see the thumbprint of the certificate in the console. You will need the thumbprint to export the certificate. Now, the certificate is available on IIS in the Server Certificate section and you can add it to the webserver.
Export can be done by this command where F94032CBE3B4063EE4CF9E1987E6B75CD4407EB2 must be changed to your own thumbprint.
Export-Certificate -Cert Cert:\LocalMachine\My\F94032CBE3B4063EE4CF9E1987E6B75CD4407EB2 -FilePath C:\Temp\eway.local.cer
Windows Server 2012 R2 and older
Command New-SelfSignedCertificate does not support parameters Subject and Extension on older Windows Server versions.
In that case you have to generate the certificate on a PC with Windows 10 or newer and export it into PFX using the command below:
$pwd = ConvertTo-SecureString -String 'StrongPassword' -Force -AsPlainText
Get-ChildItem -Path Cert:\LocalMachine\My\F94032CBE3B4063EE4CF9E1987E6B75CD4407EB2 | Export-PfxCertificate -FilePath C:\Temp\eway.local.pfx -Password $pwd
Copy the PFX file to the server and import it using the IIS console in the section Server Certificates using Import... button.

2. Client stations
Certificate will not be accepted on devices by default, you must make it trustworthy.
in Windows, open the generated CER file.
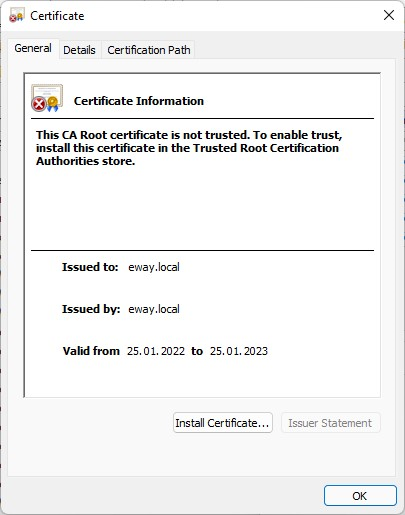
Click Install certificate...
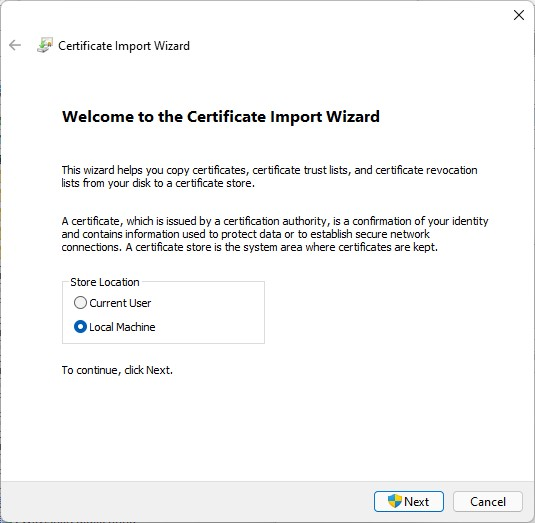
Here, select Local Machine and Next.
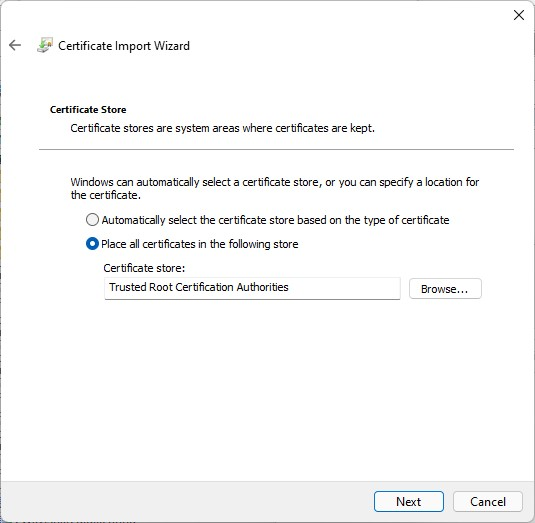
Store certificate in Trusted Root Certification Authorities.
Now, the access to your web service address (e.g. https://192.168.1.20) should work without a certificate error.